In this guide we’ll show you how to set up SSO authentication for your team.
SSO (Single Sign-On) is a standard for accessing services like Feeder using your corporate login account. With SSO you don’t need to remember a password for every new service you sign up to. It easily integrates with identity providers like Google, Office 365, ZoHo, etc.
How to
We’ll use Google Apps as the example identity provider in this case, but the steps should be similar for your provider.
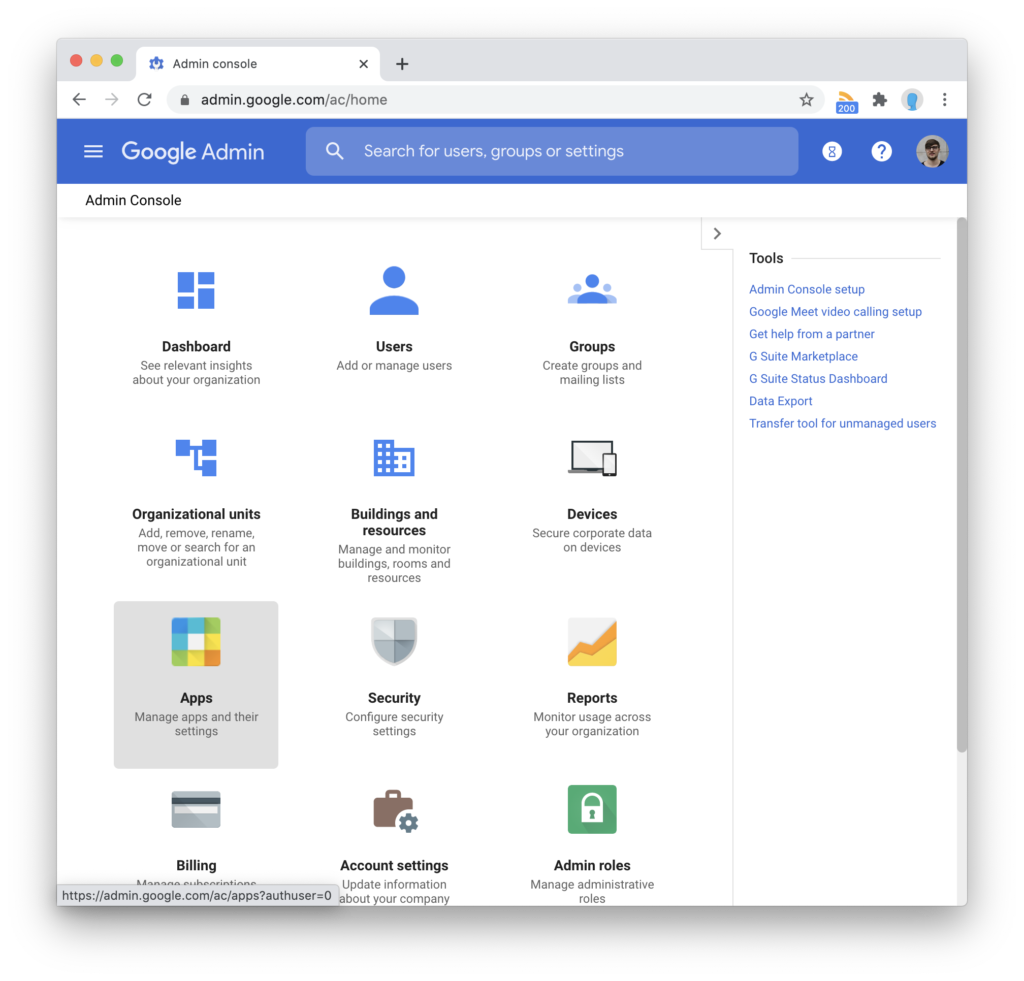
First, visit the Google Apps admin at https://admin.google.com (make sure you have the correct permissions to manage applications).
Choose the Apps sub-section.
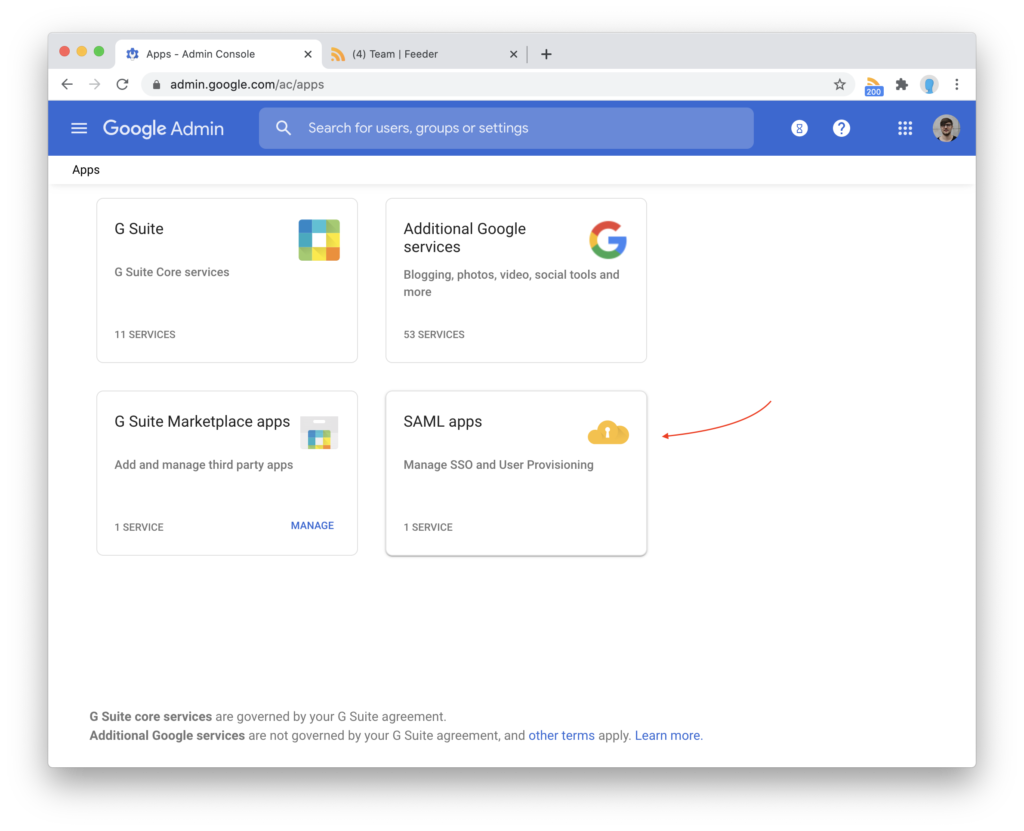
Choose “SAML apps” from the options.
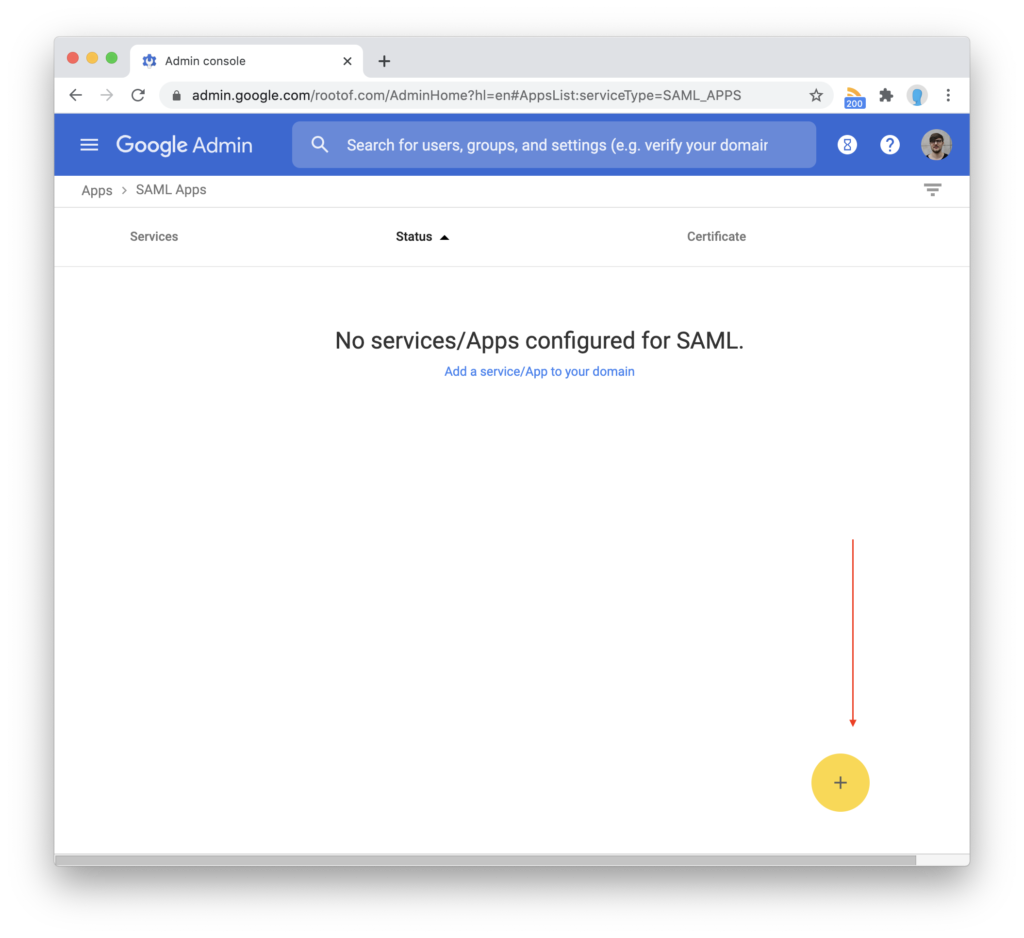
Press the “Add service” button.
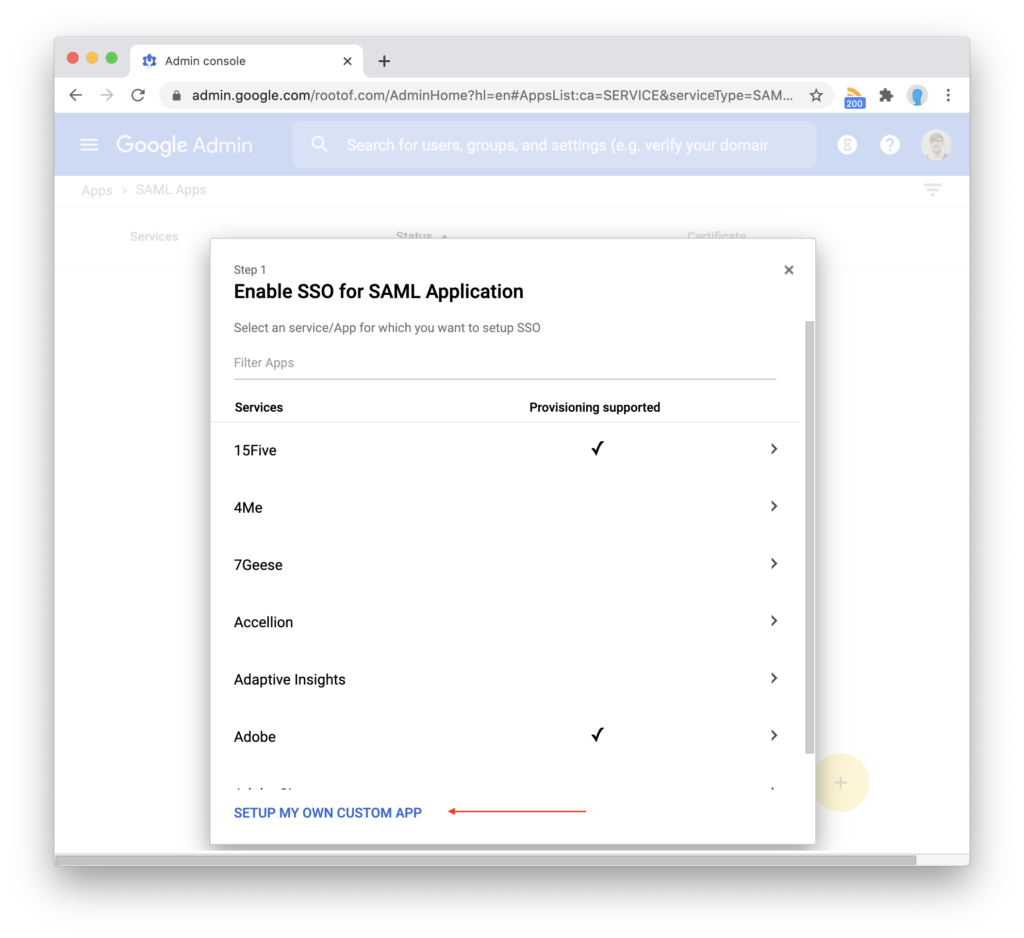
From the “Enable SSO for SAML Application” menu choose “Setup my own custom app”.
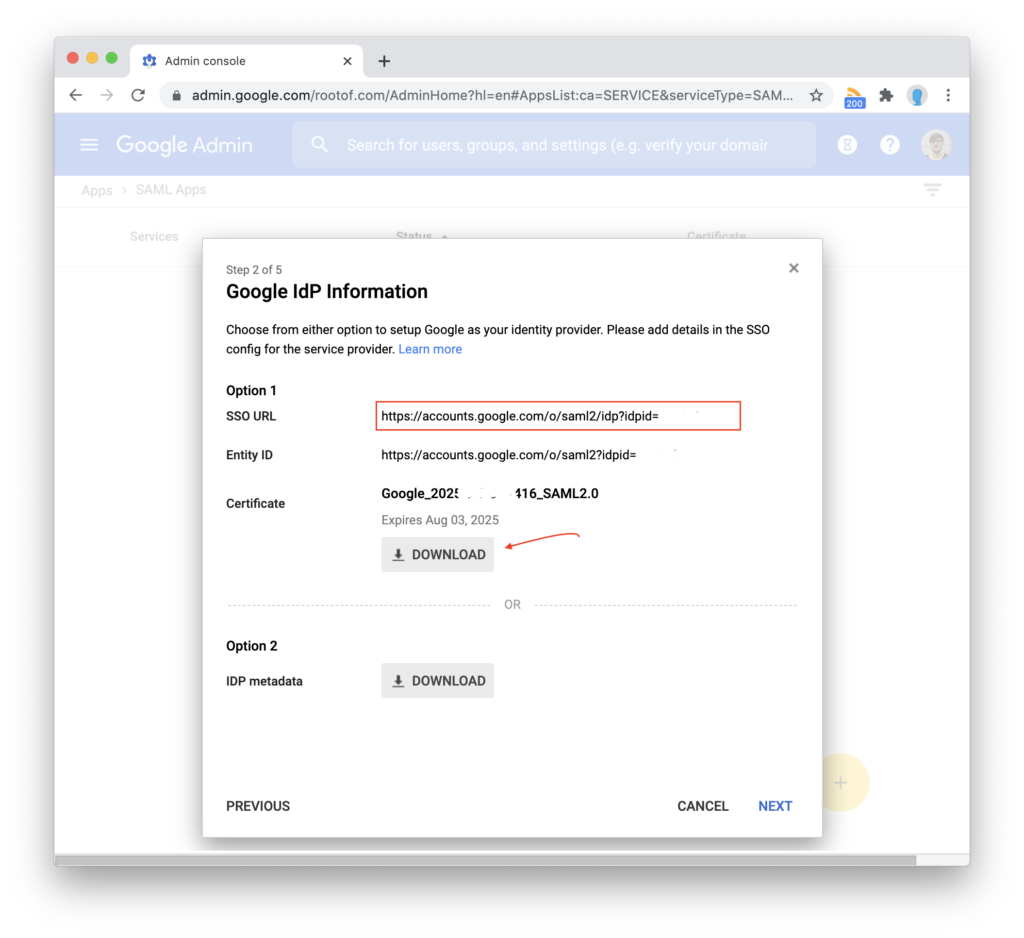
This step generates a couple of URLs and a certificate that are important for your integration.
Make note of the SSO URL and then download the certificate.
Then you add the credentials in Feeder. This will generate some details that you need for the next step in this Google SAML setup flow.
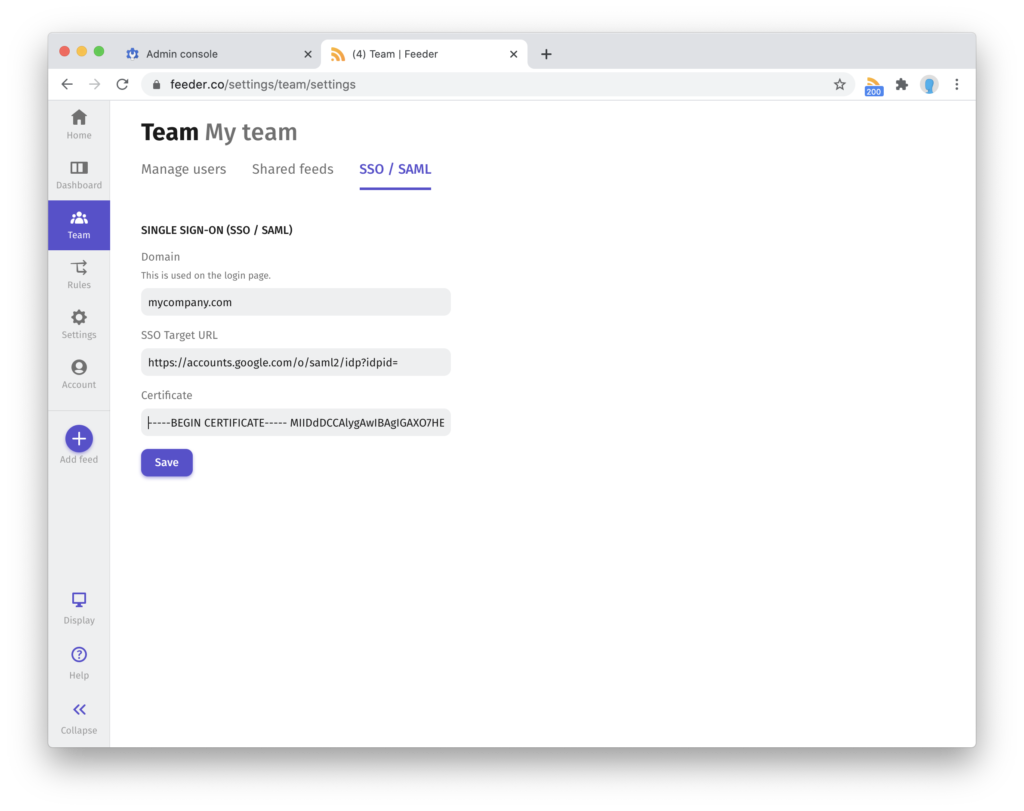
Visit the SAML settings page: https://feeder.co/settings/team/settings and fill out the form.
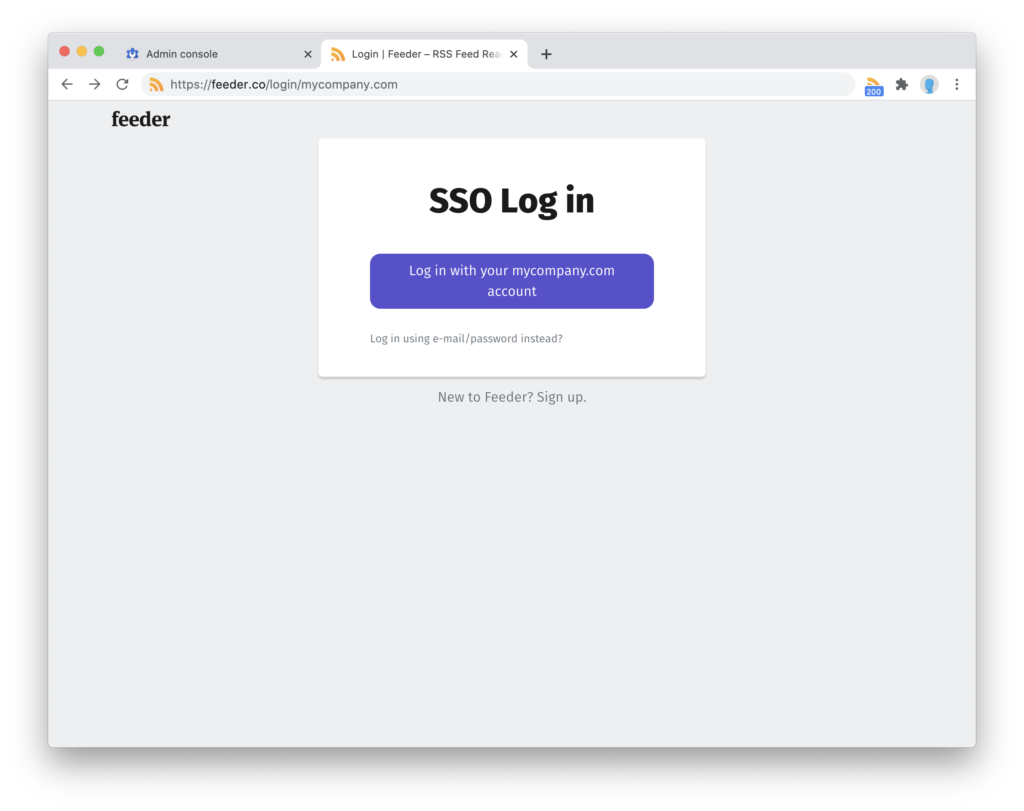
The “Domain” field is a descriptive field that will be what your team members see and the URL used for login. In this example, we’ve used “mycompany.com”. The SSO login URL will be: https://feeder.co/login/mycompany.com
The “SSO URL” from Google is “SSO Target URL” in Feeder, and the “Certificate” is the contents of the .pem file downloaded from the previous step. You will need to open the .pem file in a text editor to copy and paste the certificate text.
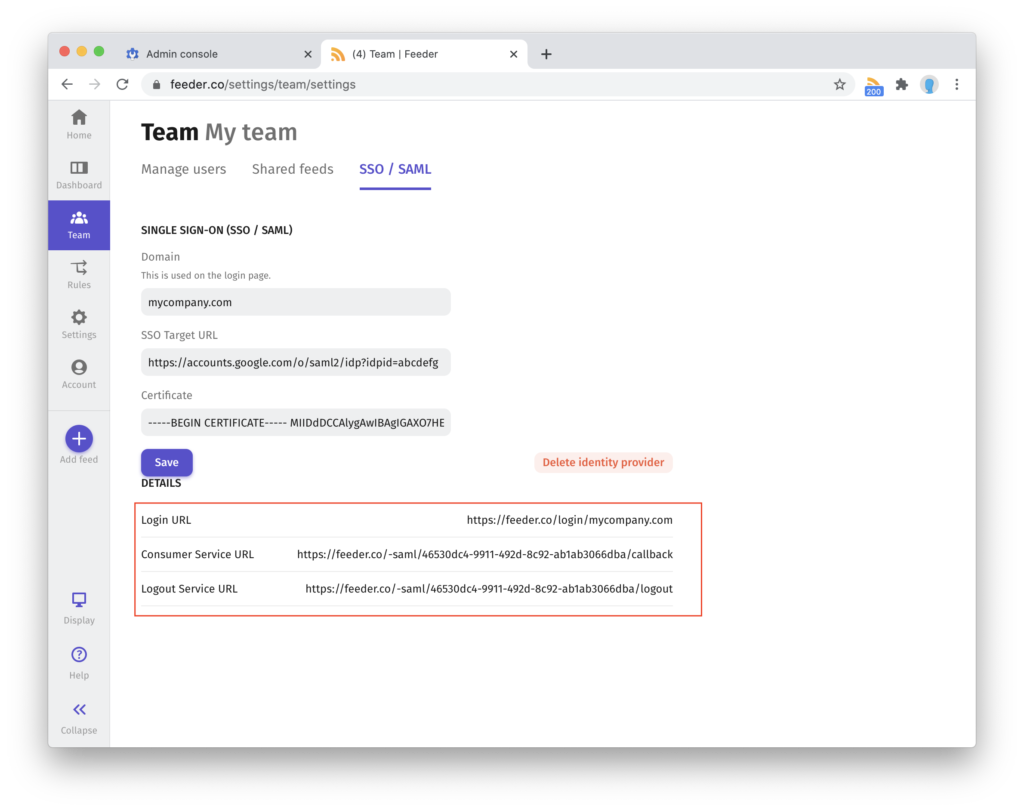
Upon pressing “Save” your details will be generated. These values will be used in the next step.
Go back to your tab in the Google Apps admin. Press “Next” to continue to the next step now.
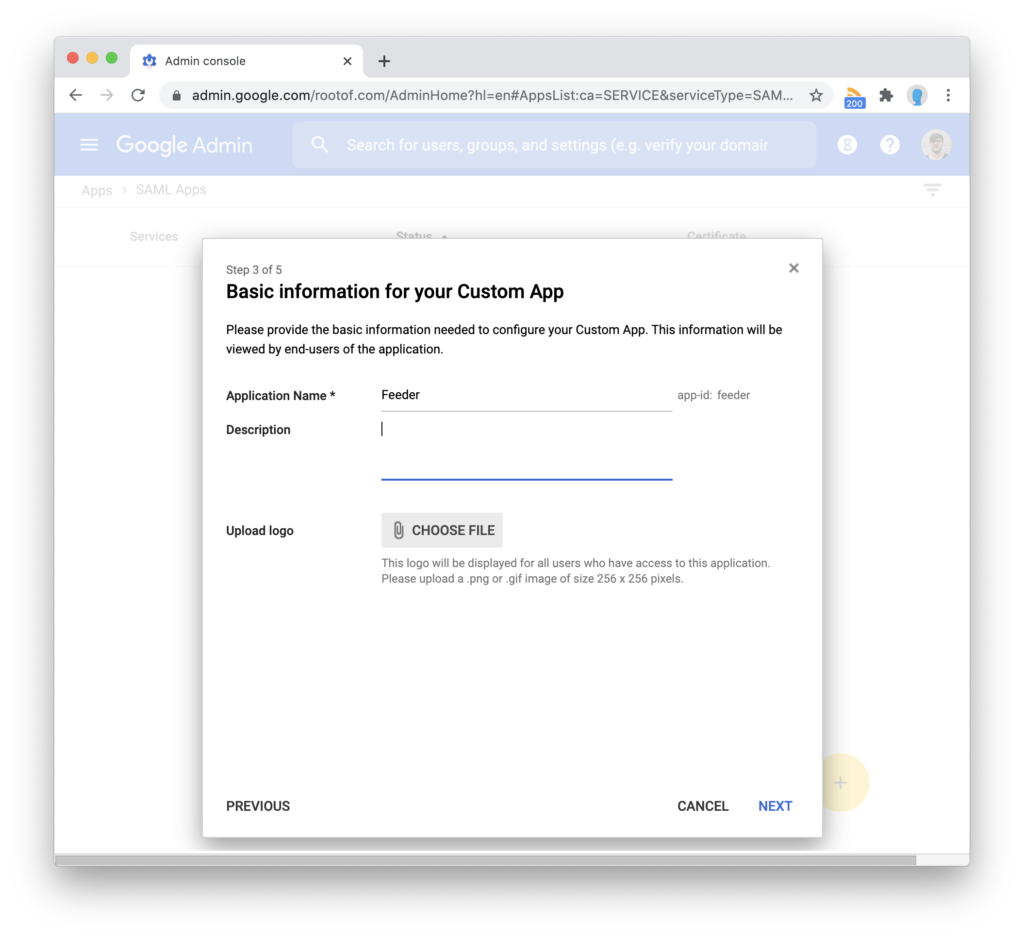
Here you give a name to the SAML application. Might we suggest “Feeder”? Go to the next step once it’s done.
For the “Service Provider Details” step you will need the values from your Feeder team settings.
In Feeder, the “Consumer Service URL” should be added to the Google “ACS URL”.
“Entity ID” should always be “feeder.co”.
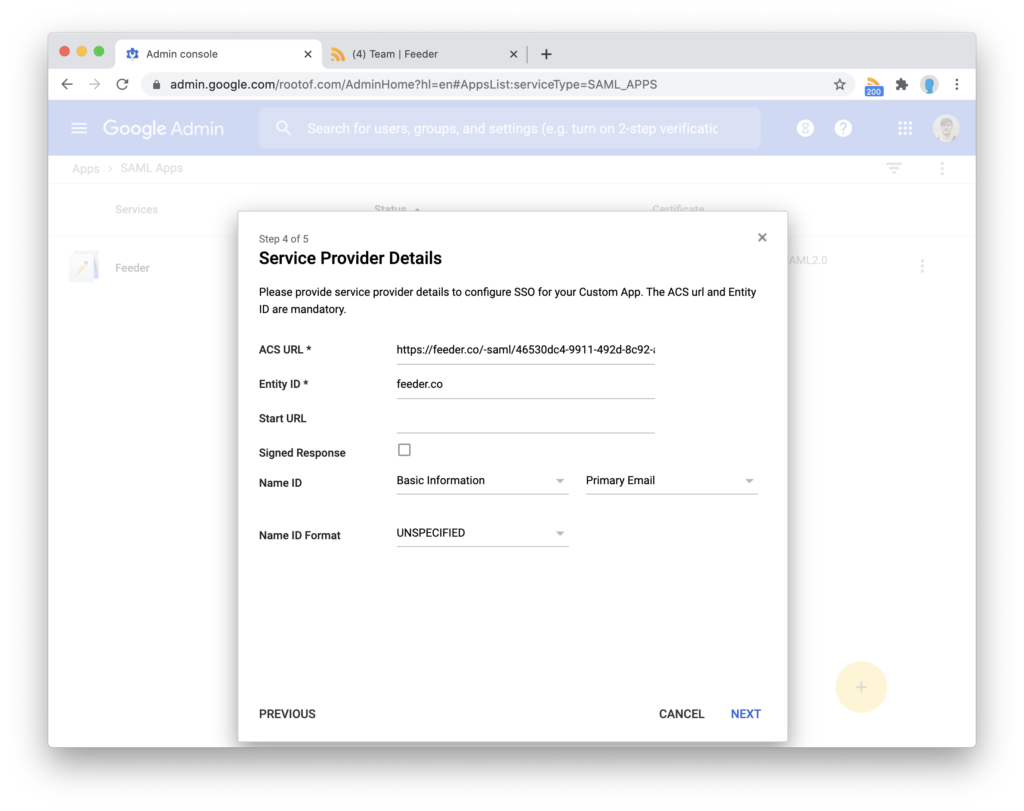
That’s all you need to get started in this step. Click “Next”.
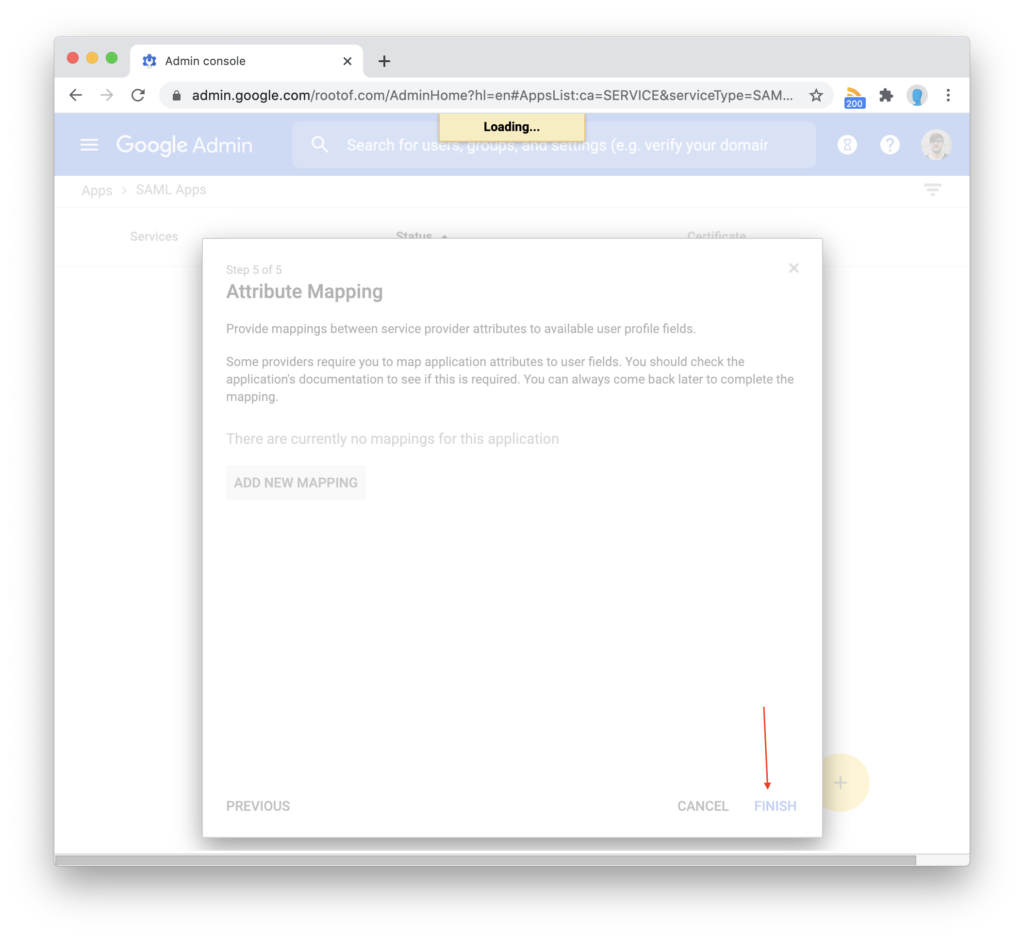
You do not need to set up any attribute mappings, just press “Finish”.
All set! Now you can test it out by visiting the “Login URL” provided in the Feeder team page.
Try out your connection. If you see any strange errors, don’t hesitate to ask us at support@feeder.co